The Spanish student visa
guide:
guide:
Visa―something about the word is daunting. I get overwhelmed just thinking about the
paperwork, and the organization, and the planning that went into getting mine. I think
a lot of the stress I encountered in the process of getting my visa was due to (a) inaccurate
information and (b) contradicting information that I found on the internet and on
various blogs. So for you, my sweet future <estudiante intercambio>, I have removed
the discrepancies and streamlined the process so you can make it to España without
having to learn any Spanish swear words before you get there.
1. PSA: YOU HAVE TO GO TO
SAN FRANCISCO TO DROP OFF AND
PICK UP YOUR VISA IN PERSON.
SAN FRANCISCO TO DROP OFF AND
PICK UP YOUR VISA IN PERSON.
I wish I had found this information as blatantly clear back when I started my visa quest.
Unfortunately, I didn’t find out until I dropped off my visa that I need to go back to
San Francisco in person to pick it up.
Unfortunately, I didn’t find out until I dropped off my visa that I need to go back to
San Francisco in person to pick it up.
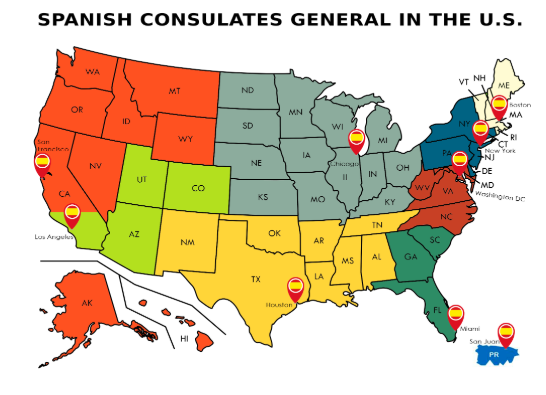
Depending on where you are a resident, you might be able to visit your home
state’s consulate, and their procedures may be different (email them to be sure!),
but please be aware that in San Francisco you have to drop off and pick up your
visa in person.
state’s consulate, and their procedures may be different (email them to be sure!),
but please be aware that in San Francisco you have to drop off and pick up your
visa in person.
***There is one exception. You don’t necessarily have to drop off your visa paperwork
in person. There is the possibility that your parents can drop off the paperwork for you,
however you, and only you, can be the one to pick it up. As put more formally by the
San Francisco consulate:
in person. There is the possibility that your parents can drop off the paperwork for you,
however you, and only you, can be the one to pick it up. As put more formally by the
San Francisco consulate:
“Visa applications must be filed in person. However, applications may also be filed by a
duly accredited representative if you do not reside in the town or city where the Diplomatic
Mission or Consular Office is located and you can demonstrate due cause preventing you from
travelling, such as the distance from the Diplomatic Mission or Consular Office in question,
transport difficulties that make the journey particularly problematic or accredited reasons
related to a sickness or physical condition that significantly reduces your mobility.”
Now that you are well aware of the logistics of dropping off and picking up the paperwork,
it’s time for the next step.
it’s time for the next step.
2. Book an appointment!
Go to the San Francisco consulate website (there is an English option in the top
right hand corner) to book it:
right hand corner) to book it:
These appointments fill up QUICKLY. Seriously, I’m not joking it’s booked
out sometimes 4 months in advanced.
out sometimes 4 months in advanced.
You can’t book an appointment 3 months prior to your date of departure,
so keep that in mind. Also, your visa will take somewhere between 2-4 weeks
until it is ready, so you’ll need to account for that when planning your appointment.
You wouldn’t want to drop it off in late July and have to leave for school in early
August and it not be ready, you understand what I mean.
My best advice is to get it done with sooner rather than later. After your visa is ready,
it can stay at the consulate for as long as you like. For example, I dropped mine off in
early November and then came back in January to pick it up on my way to Spain.
First thing first though, book an appointment!
it can stay at the consulate for as long as you like. For example, I dropped mine off in
early November and then came back in January to pick it up on my way to Spain.
First thing first though, book an appointment!
3. Papers, documents, information, oh my!
FOR A SEMESTER you will need:
National visa application form and one copy (USE DAY/MONTH/YEAR FORMAT!!!)
National visa application form and one copy (USE DAY/MONTH/YEAR FORMAT!!!)
Passport and ID, original document + one copy of each
Two passport sized photos (2in x 2in)
Original university acceptance letter and one copy
Evidence of funds - this can mean a notarized letter from your parents,
or a letter from the university saying that you are fully financially covered.
Here’s an example of the one that my parents wrote for me:

Public or private health insurance that covers you internationally while you
are abroad. I used CISI which is very comprehensive and doesn’t do too much
damage on your wallet.
All of this too:

Check the fees on this website:
http://www.exteriores.gob.es/Consulados/SANFRANCISCO/es
/ServiciosConsulares/ServiciosenSanFrancisco/Paginas/
Tasas-Consulares.aspx
http://www.exteriores.gob.es/Consulados/SANFRANCISCO/es
/ServiciosConsulares/ServiciosenSanFrancisco/Paginas/
Tasas-Consulares.aspx
You can either pay in check or cash. Checks can be made out to
the General Consulate of Spain in San Francisco.
the General Consulate of Spain in San Francisco.
5. Other important information
to consider:
to consider:

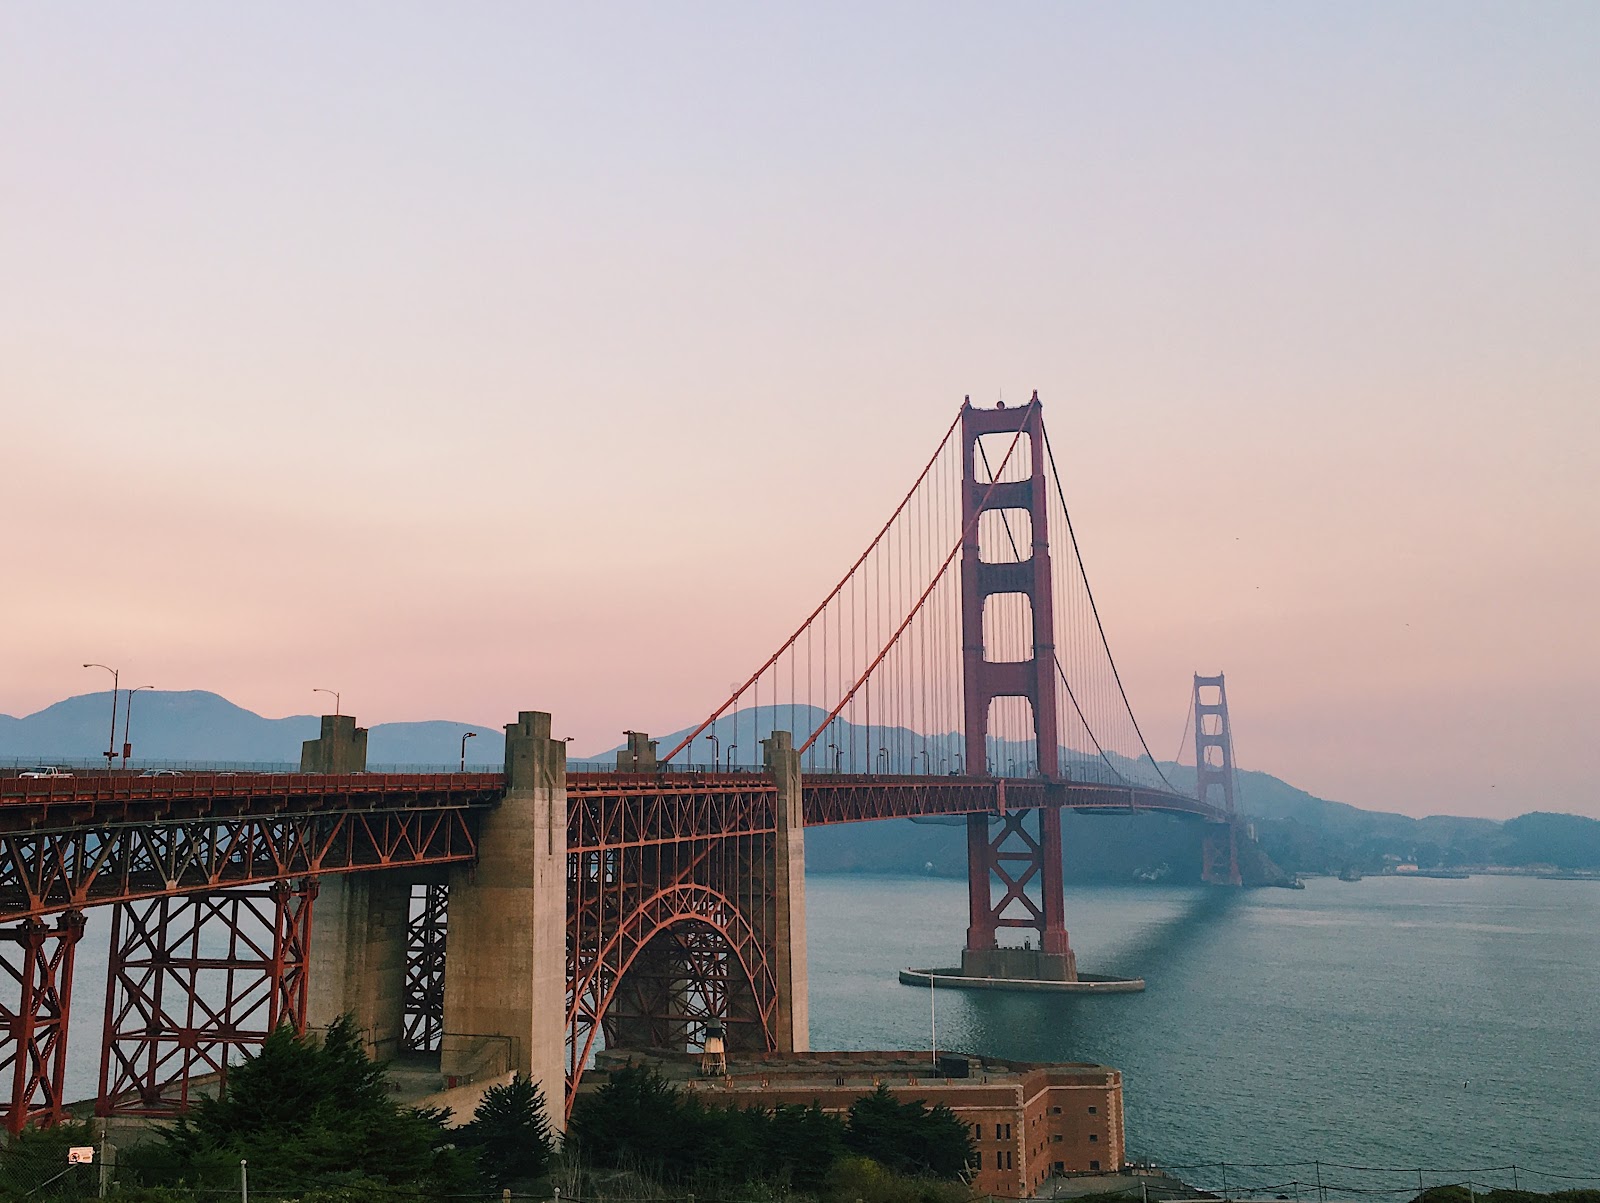
6. Make the most of your
time in San Francisco picking
up and dropping off your visa
time in San Francisco picking
up and dropping off your visa
Pacific Tradewinds Hostel is a great spot to stay that won’t live up to
San Francisco's spendy reputation.
Download the Muni Mobile App. You can get a 24 hour bus pass
for $5 on your phone. It’s super easy and you can use it to get around
everywhere without having to rent a car.
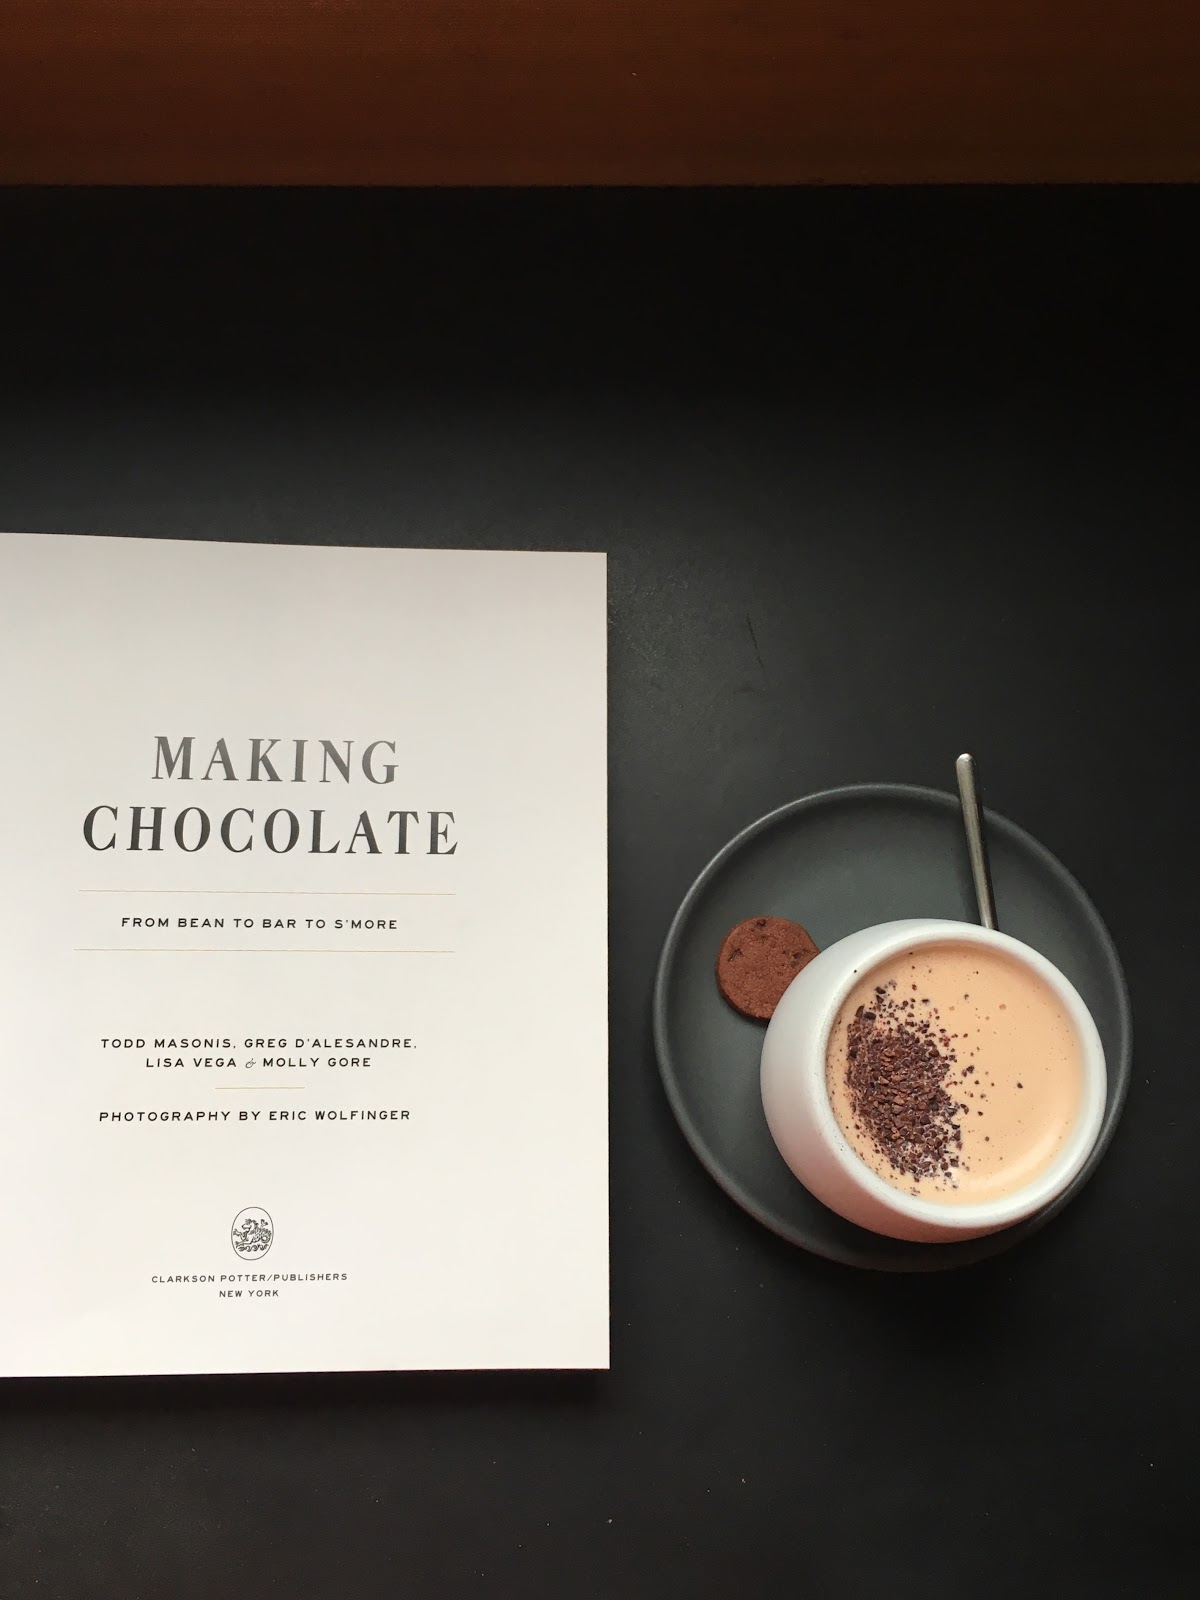
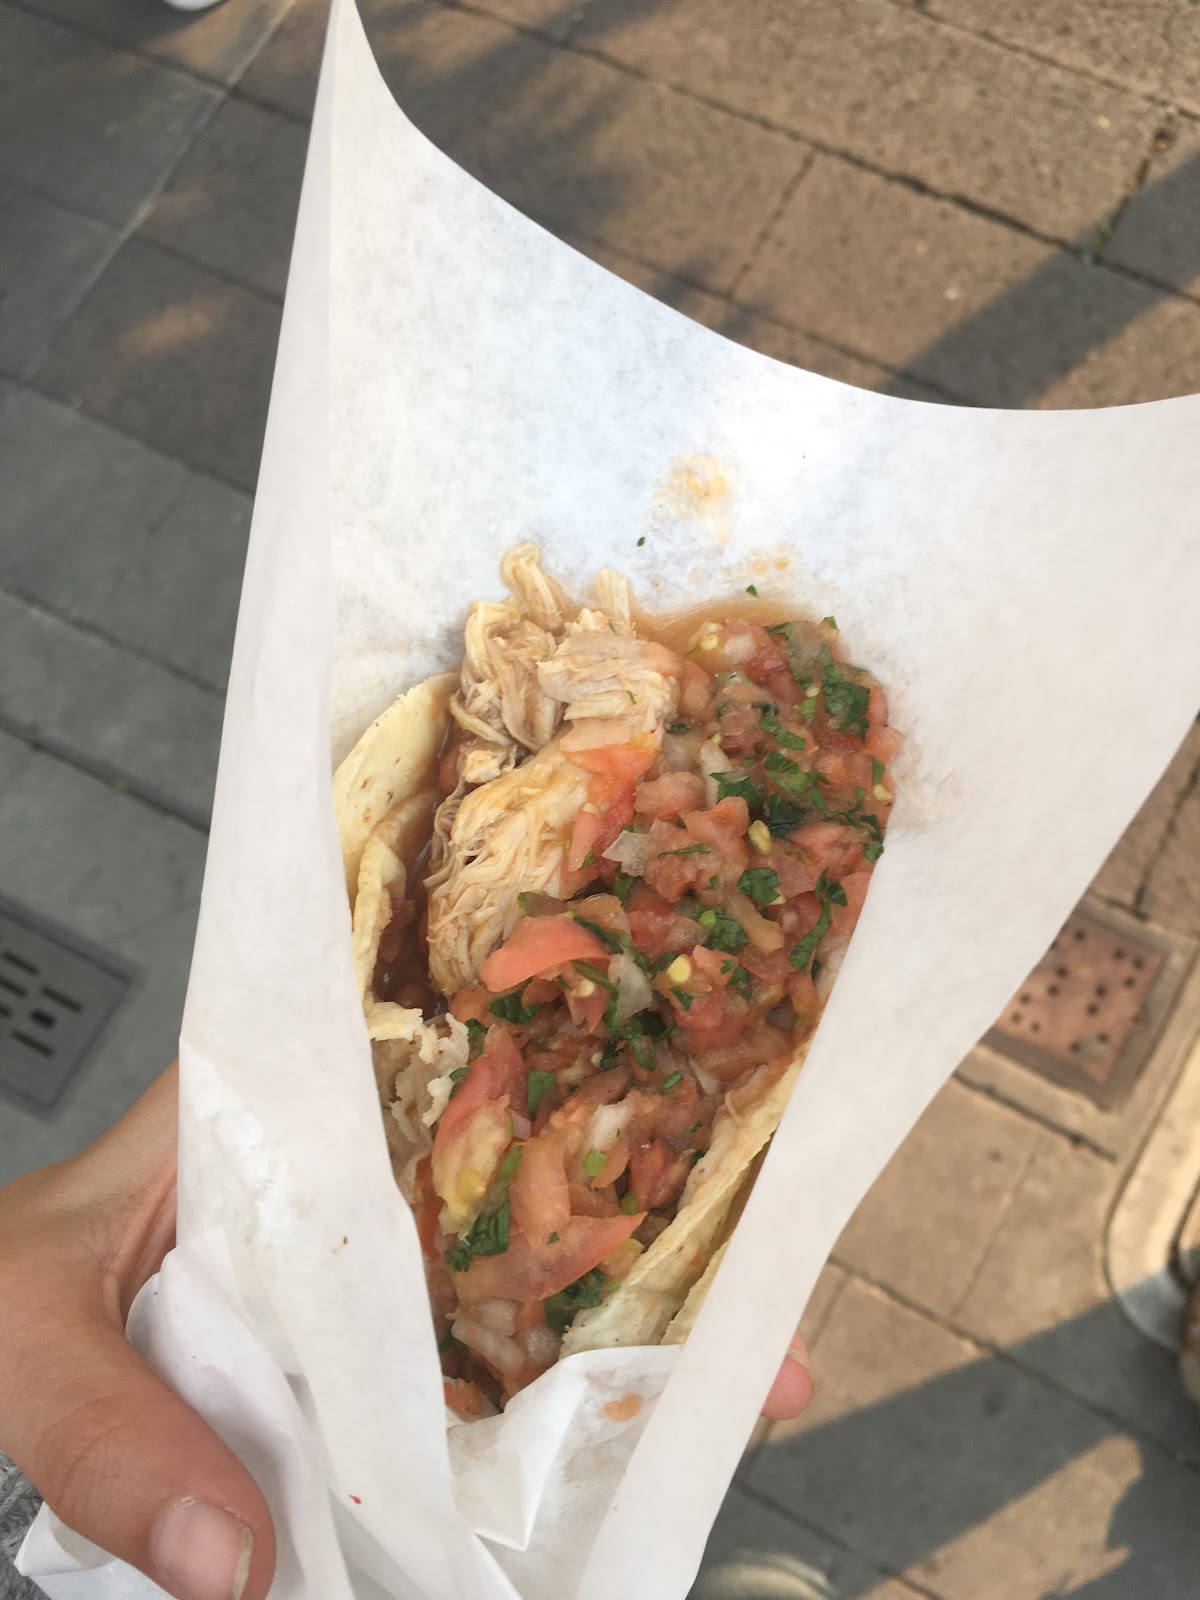
Check out Dandelion Chocolate (get the mission style hot chocolate)
and La Taqueria (in the Mission District).
I’m not kidding when I say these will be the best tacos you have
ever had. Ever.
Wander around Chinatown and North Beach (Little Italy area) and find yourself pleasantly surprised with the sights, smells, and sounds of the city.

If you are a “plant person” like me, then check out the Conservatory of Flowers.
There’s a small entrance fee, and it’s cheaper if you are a student, so bring your student ID
and a good book to read.

7. ENJOY ESPAÑA!


